Jagger
 All Classes Namespaces Files Functions Variables Enumerator Groups Pages
WebUi installation

Section describes installation of Jagger Web client


Back to Jagger WebUi

Installation with docker

Fast way to install WebUI - download and run docker image.
Details, you can find in Local installation

Installation with embedded server

Note: Starting Jagger version 2.0 WebUI can be run with embedded server.
You can download Web client .jar file at: http://nexus.griddynamics.net/nexus/content//repositories/public/com/griddynamics/jagger/webclient/2.0/webclient-2.0-war-exec.jar
To configure web client you can use java parameters. For example:

java -jar jagger-${build.finalName}.jar -Djdbc.driver=com.mysql.jdbc.Driver
-Djdbc.url=jdbc:mysql://localhost:3306/jaggerdb
-Djdbc.user=User
-Djdbc.password=password

The option -extractDirectory specifies the path where the war archive will be unpacked.
The option -resetExtract erases the folder, if exists, with unpacked war archive.

Installation with application server

Web client is a java web application, which works with a lot of java web containers.
I will show you how to launch jagger web client with Apache Tomcat

  • Download jagger war file from the next link -
    https://nexus.griddynamics.net/nexus/content/repositories/public/com/griddynamics/jagger/webclient/2.0/webclient-2.0.war
    Note: Latest version number you can find in Release notes

  • Rename webclient-X.X.X.war file to ROOT.war
    webUI_install_rename_to_ROOT.png
    Rename file to ROOT.war

  • Open 
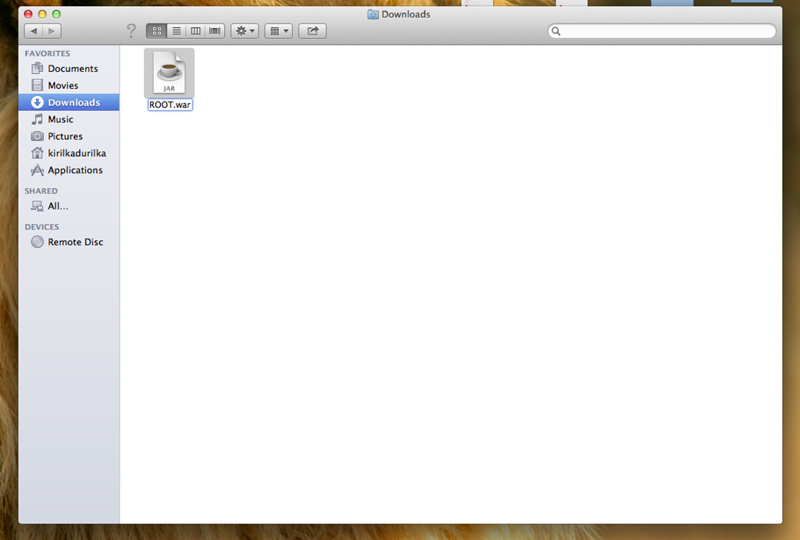
{Apache Tomcat root folder}/bin/webapps and remove all files, which have names equal ROOT
    webUI_install_clean.png
    Remove Root folder and Root.war(if such exist)

  • Copy your 
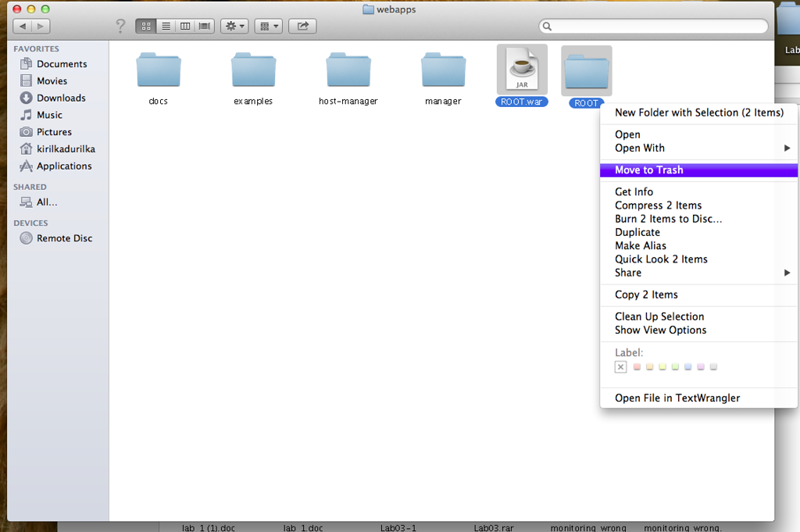
Root.war to the current folder.

    webUI_install_copy.png
    Paste Root.war

  • If your 
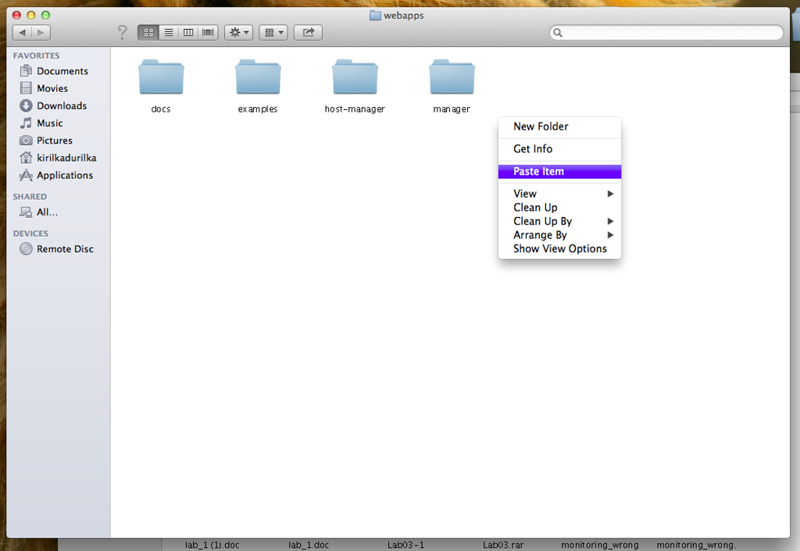
Tomcat is not running, execute next command :
    for Windows
    {Apache Tomcat root folder}/bin/startup.bat
    for Linux
    {Apache Tomcat root folder}/bin/startup.sh

  • Tomcat will create folder ROOT
    Open next file : /ROOT/WEB-INF/classes/webclient.properties and set database properties
    More about client properties you can read here WebUi configuration

  • Shutdown Apache Tomcat - for Windows
    {Apache Tomcat root folder}/bin/shutdown.bat
    for Linux
    {Apache Tomcat root folder}/bin/shutdown.sh

  • And launch again

  • Now open link localhost:8080 in your favorite browser. Web client is ready for use!
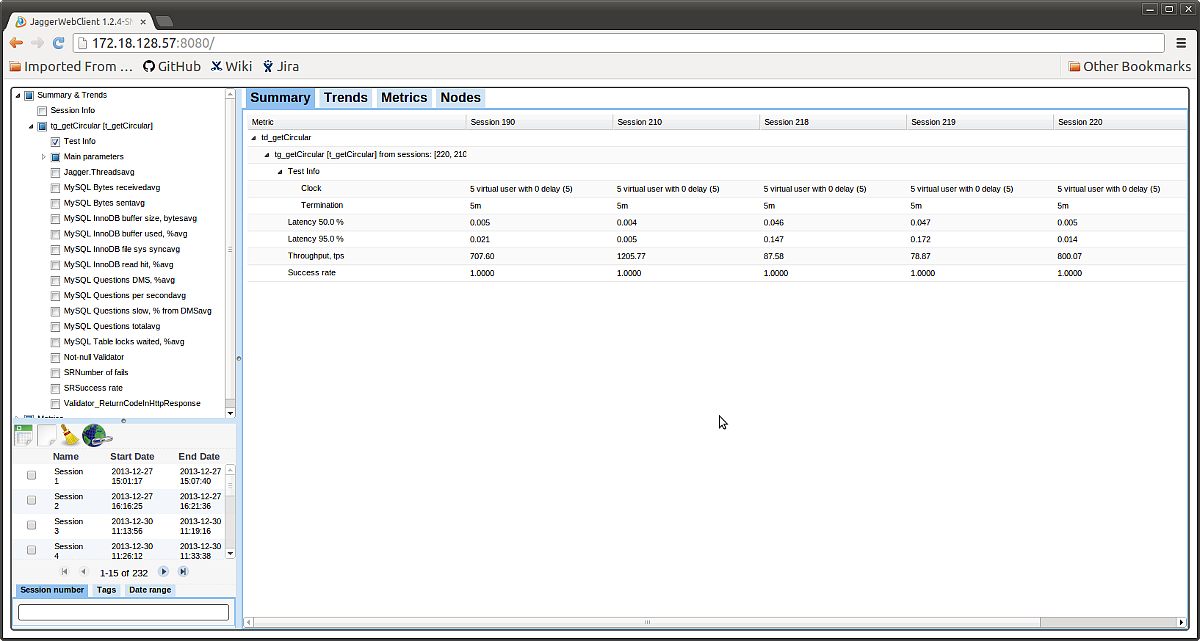
    webUI_sessions.png
    Compare sessions

  • Note: Web client will write logs to path defined in log properties /ROOT/WEB-INF/classes/log4j.properties
    By default logs will be stored in the same directory where Web client is installed. If you don't have permissions
    to write there - redefine path


    It is possible to store Web client properties file in separate file to simplify updating of Web Client. [More ...]

    How to configure storage of test results you can read here ...